In an era of mass-produced, powerful, and ready-to-use imaging devices, the Cameraberry project emerges as a statement of technical personality. Entirely conceived and built as a solo endeavor, this project was born from the desire to bridge the gap between digital code and physical reality. It served as a personal playground to experiment with a diverse tech stack while working directly with the hardware, demonstrating that sophisticated tools can be built from the ground up with enough curiosity and persistent debugging.
Core Components
- Raspberry Pi 3 Model B+
- Raspberry Pi Camera 3
- Thermal Printer
- 1.4" IPS Display
- 3D Printed PLA Chassis
- Mechanical Tactile Buttons
- Status LEDs
- Internal 10000mAh Li-Po Battery
Beyond a Simple Camera
The Cameraberry 3 is not merely a camera; it is a surprisingly powerful computer designed for deep experimentation, merged with the soul of an instant camera. Utilizing a custom-designed chassis and incorporating a thermal printer, it bridges the gap between raw hardware components and sophisticated software capabilities.
The Design Process
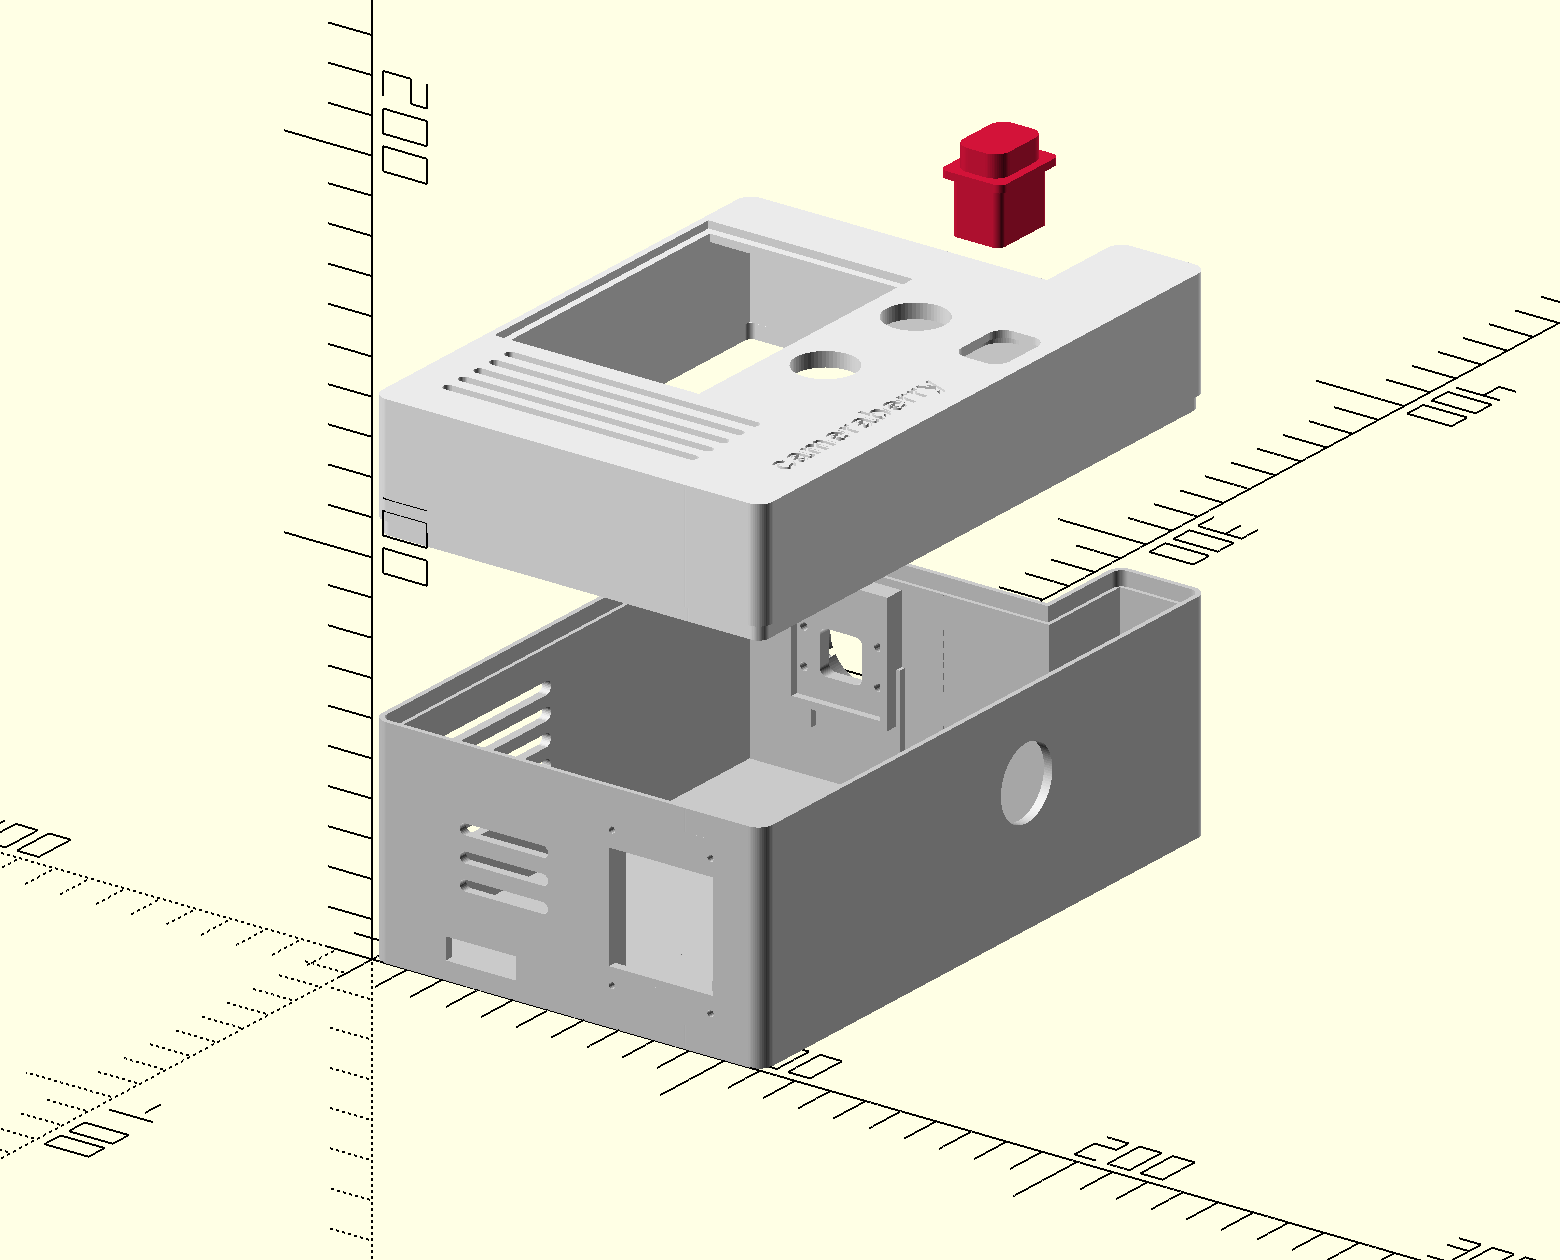
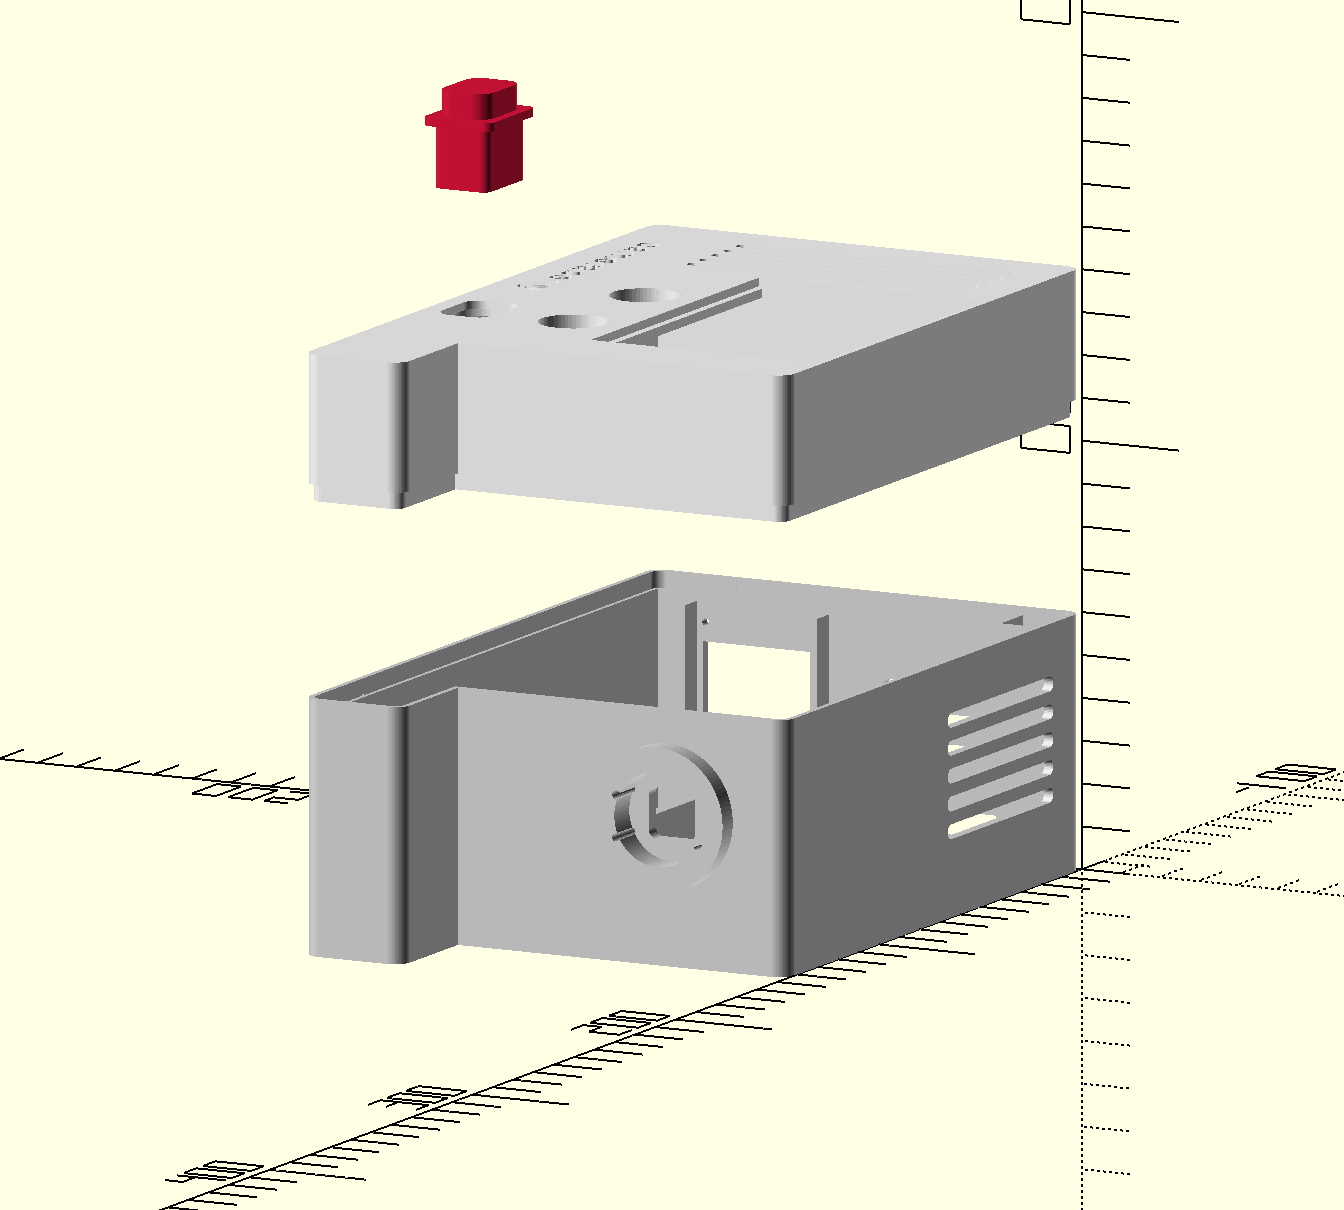
The physical form of the Cameraberry 3 was no easy feat. The chassis design required countless iterations and precise measurements of every internal component. After initial, cumbersome attempts with Fusion360, I found my stride by switching to OpenSCAD. By pairing code-based modeling with the power of LLM-assisted code, I was able to programmatically define the geometry and refine the case until it met the project's rugged, functional requirements.
Technical Backbone
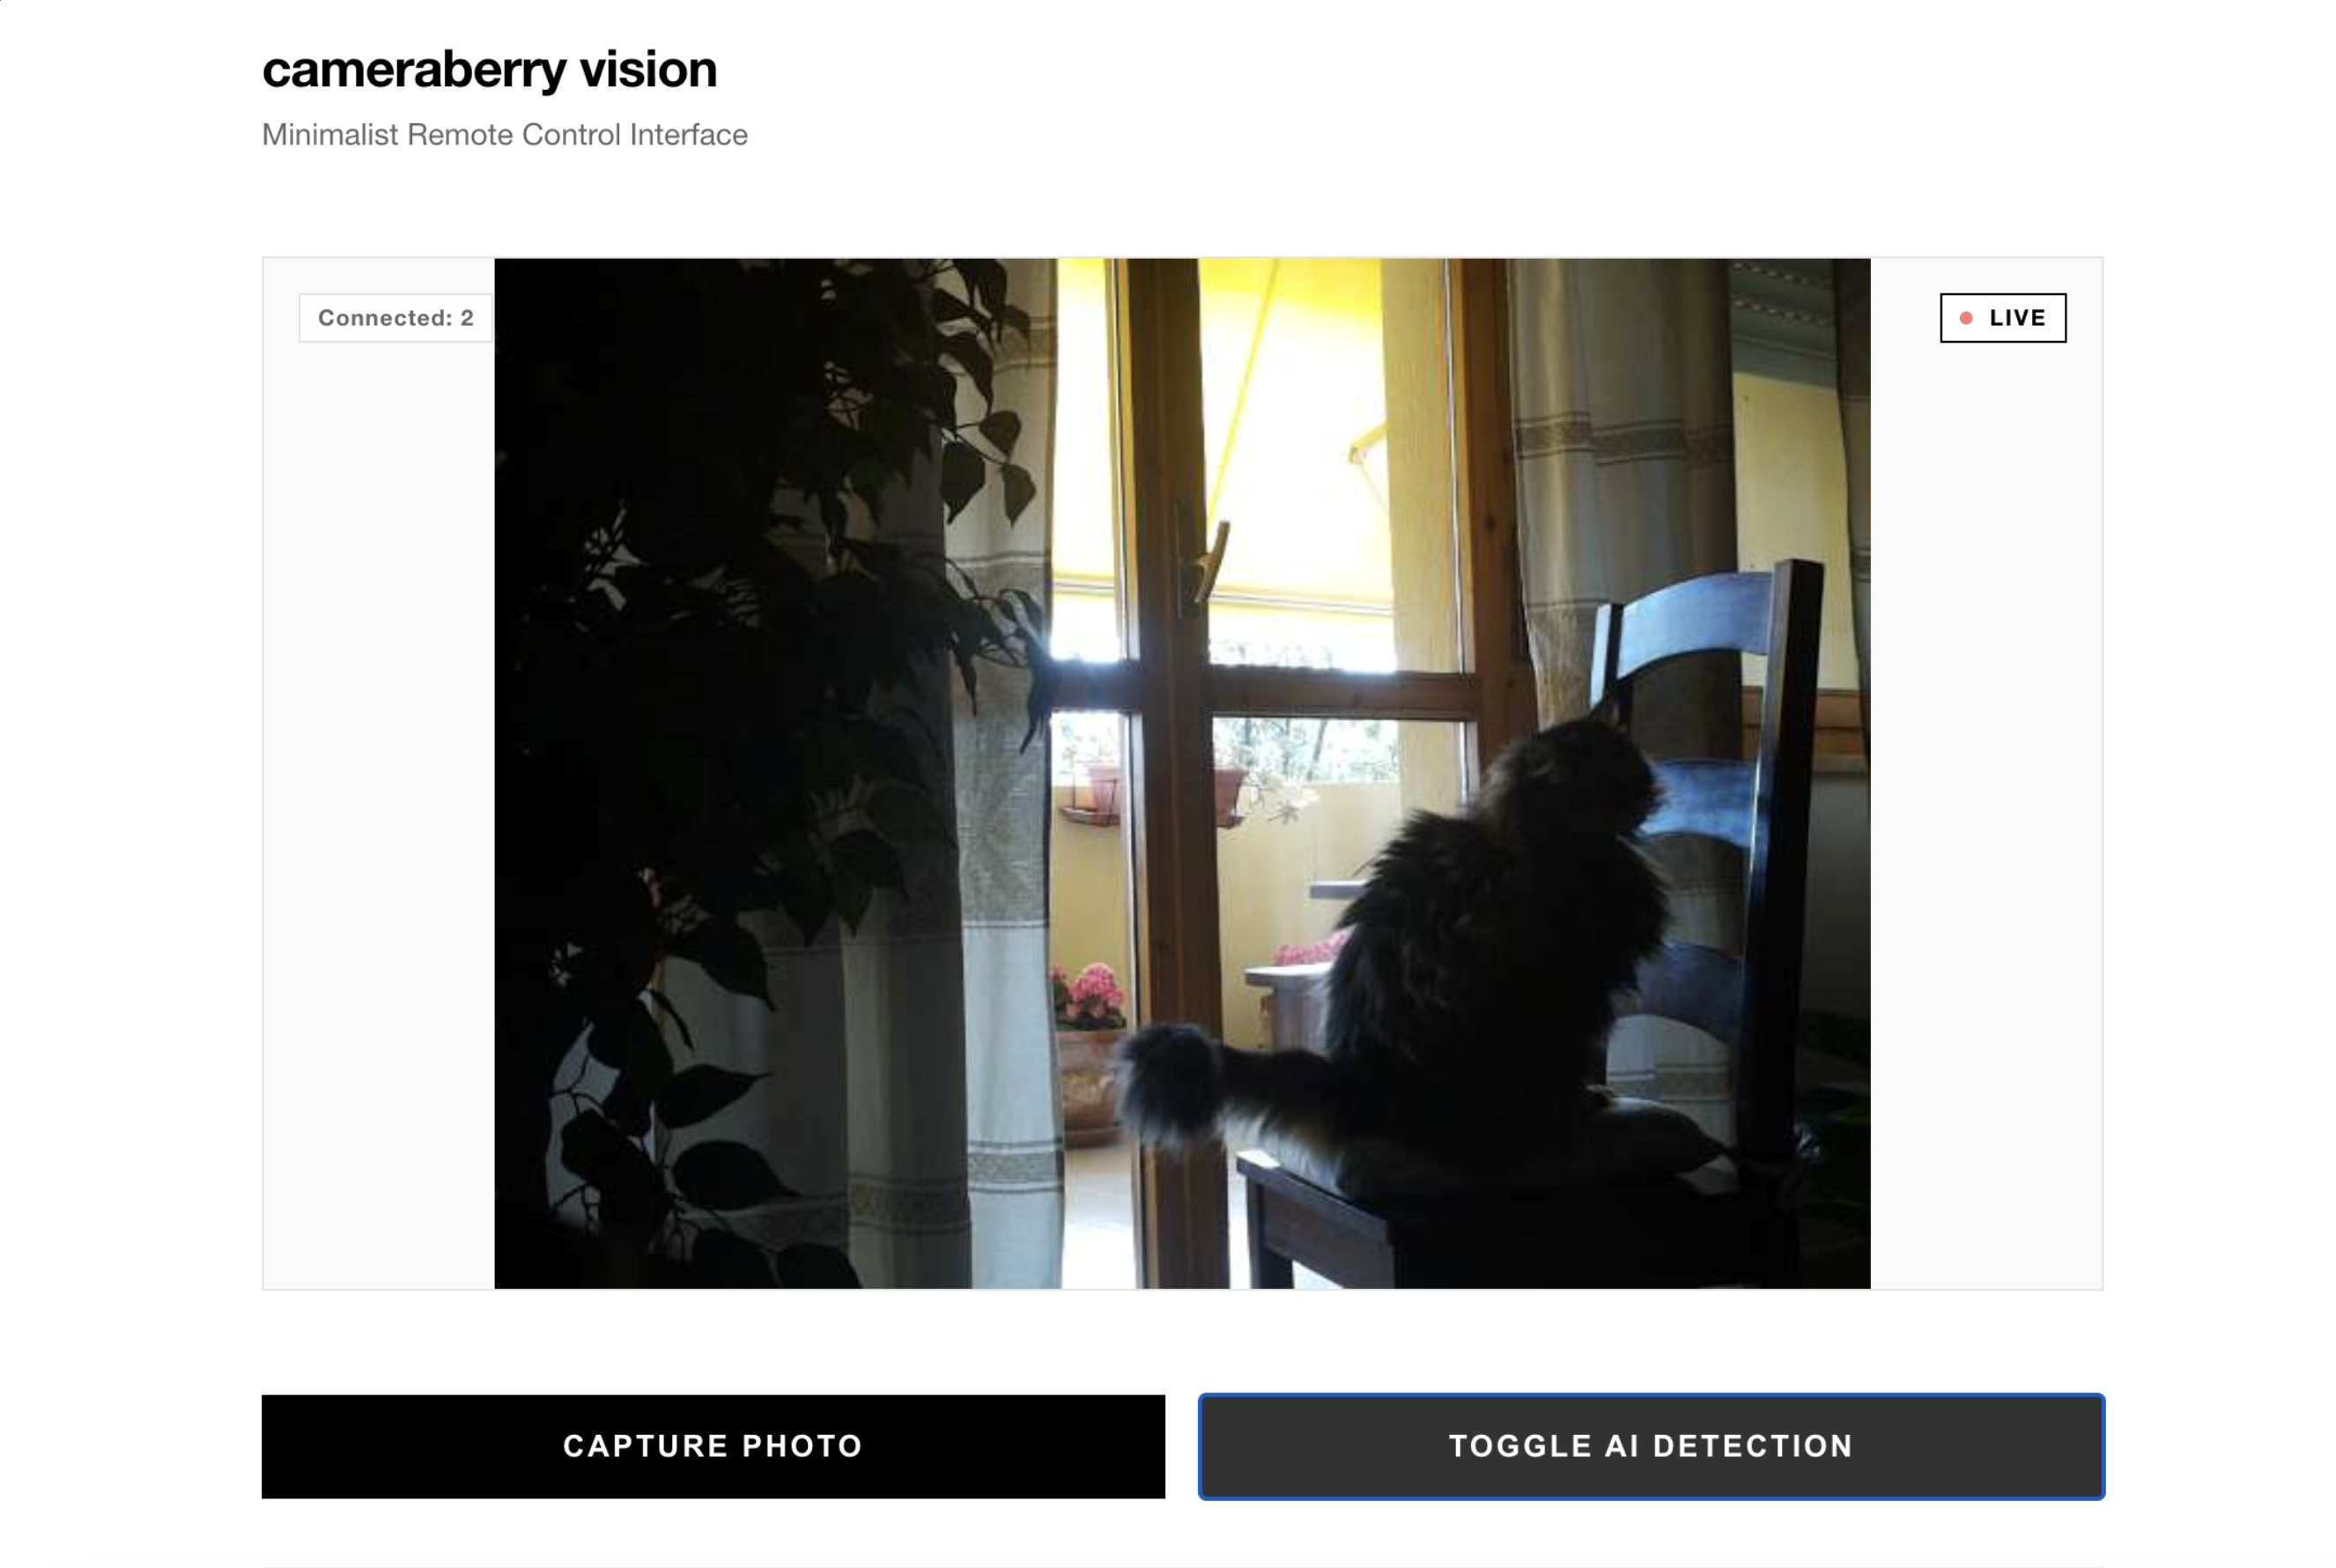
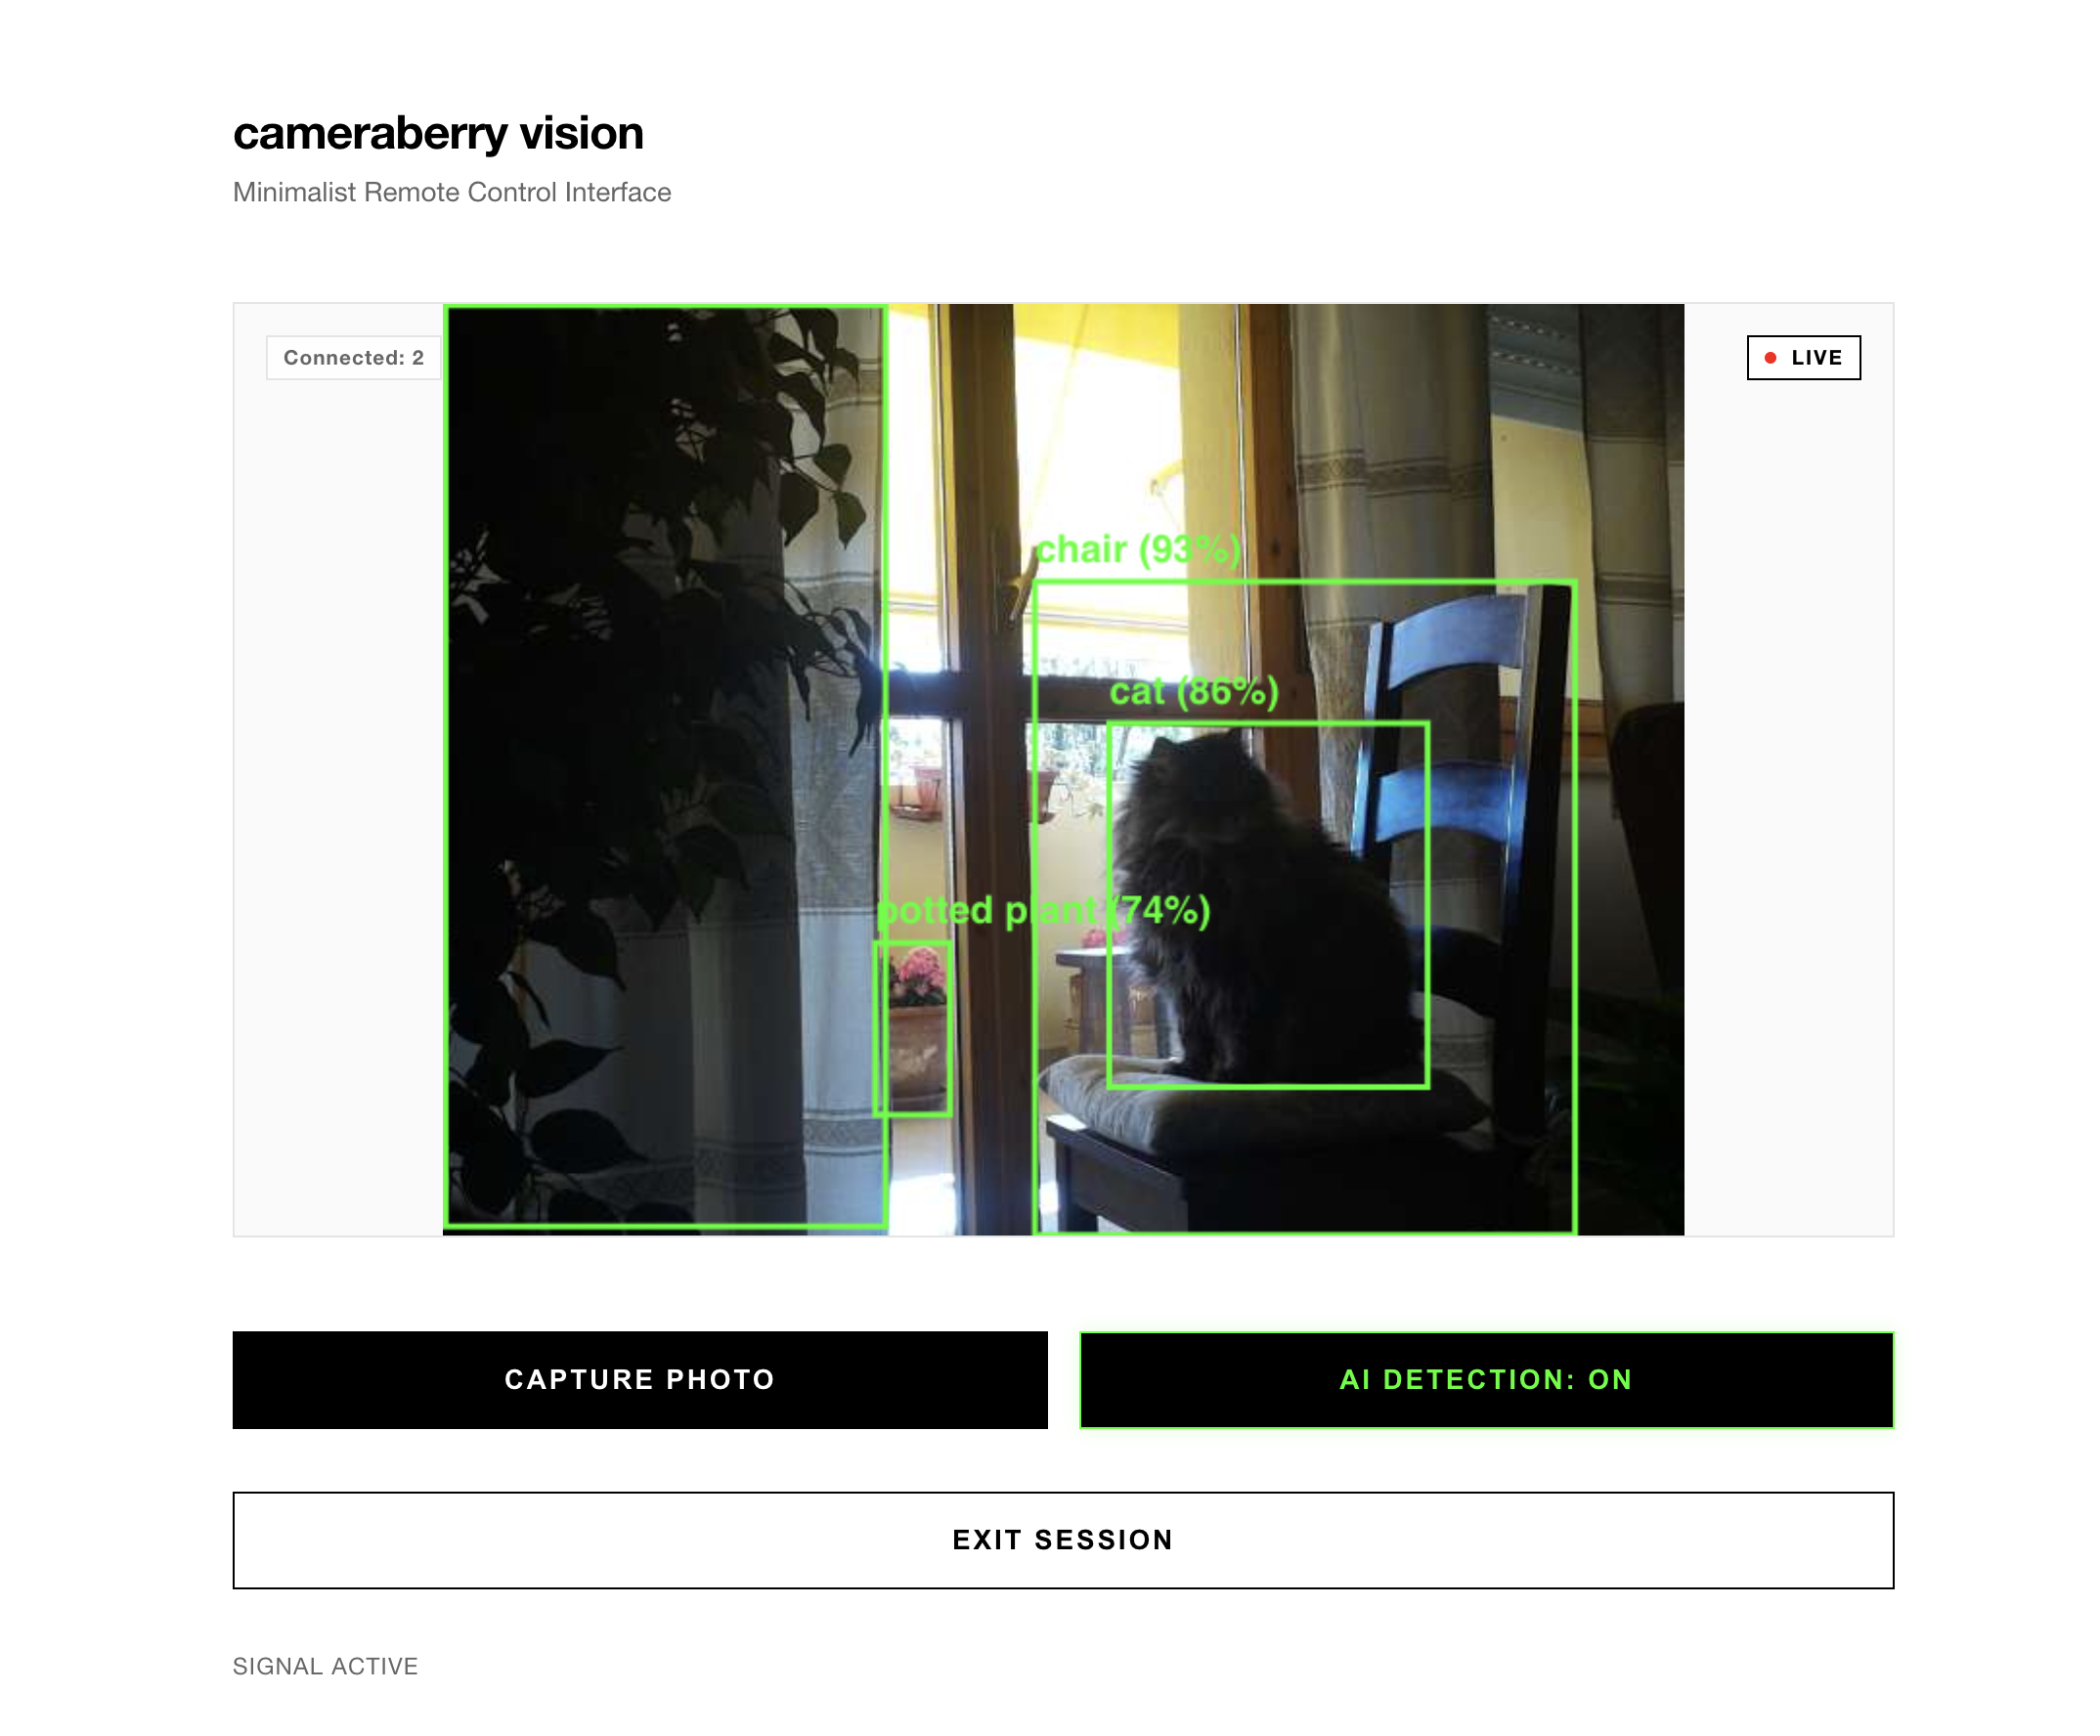
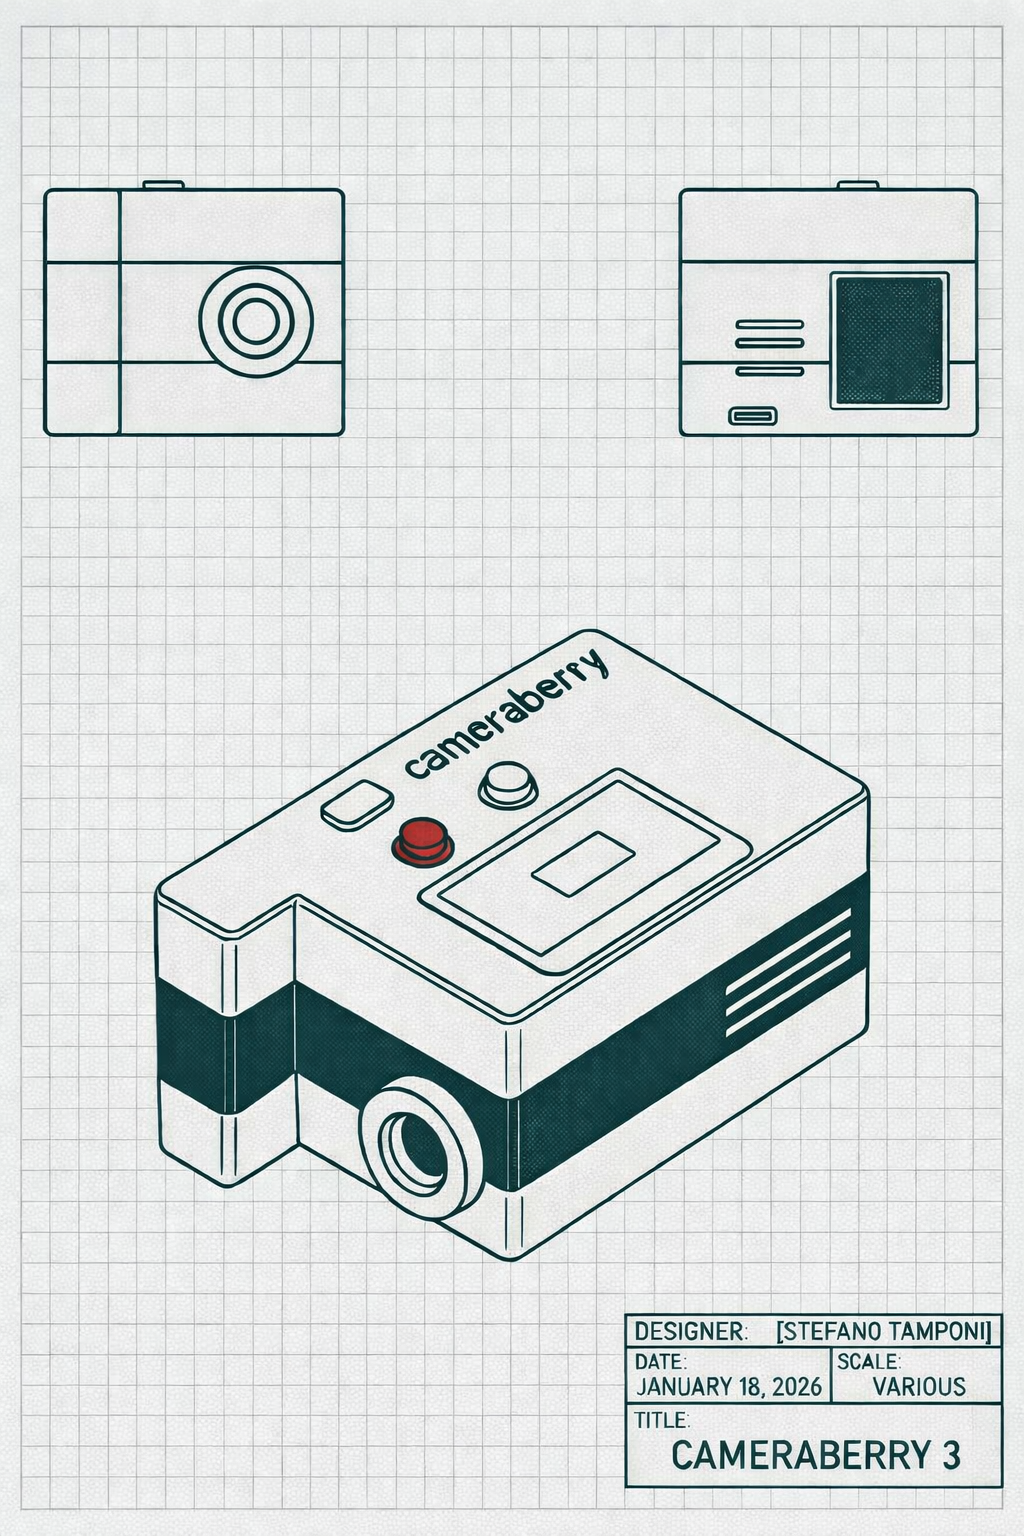
The schematic reveals a compact, rugged design. Key features include physical controls for manual interaction—a nod to the tactile nature of classic photography—integrated with a modern digital backbone. The system is connected to a self-hosted backend, enabling LLM-powered image descriptions and n8n-powered workflows for on-the-go image and prompt manipulation. Additionally, a dedicated service hosts a YOLO instance for real-time object recognition, while a remote web server allows for wireless capture and full control.
The Backend Ecosystem
The dedicated backend infrastructure deserves a special mention: it is powered by two additional Raspberry Pi 5 boards. One functions as a secure internet gateway, hosting the web server and remote control services plus an n8n instance, while the second is overclocked to 3GHz to handle demanding LLM and YOLO processes—all seamlessly and securely integrated into a unified ecosystem.
Intelligent Processing
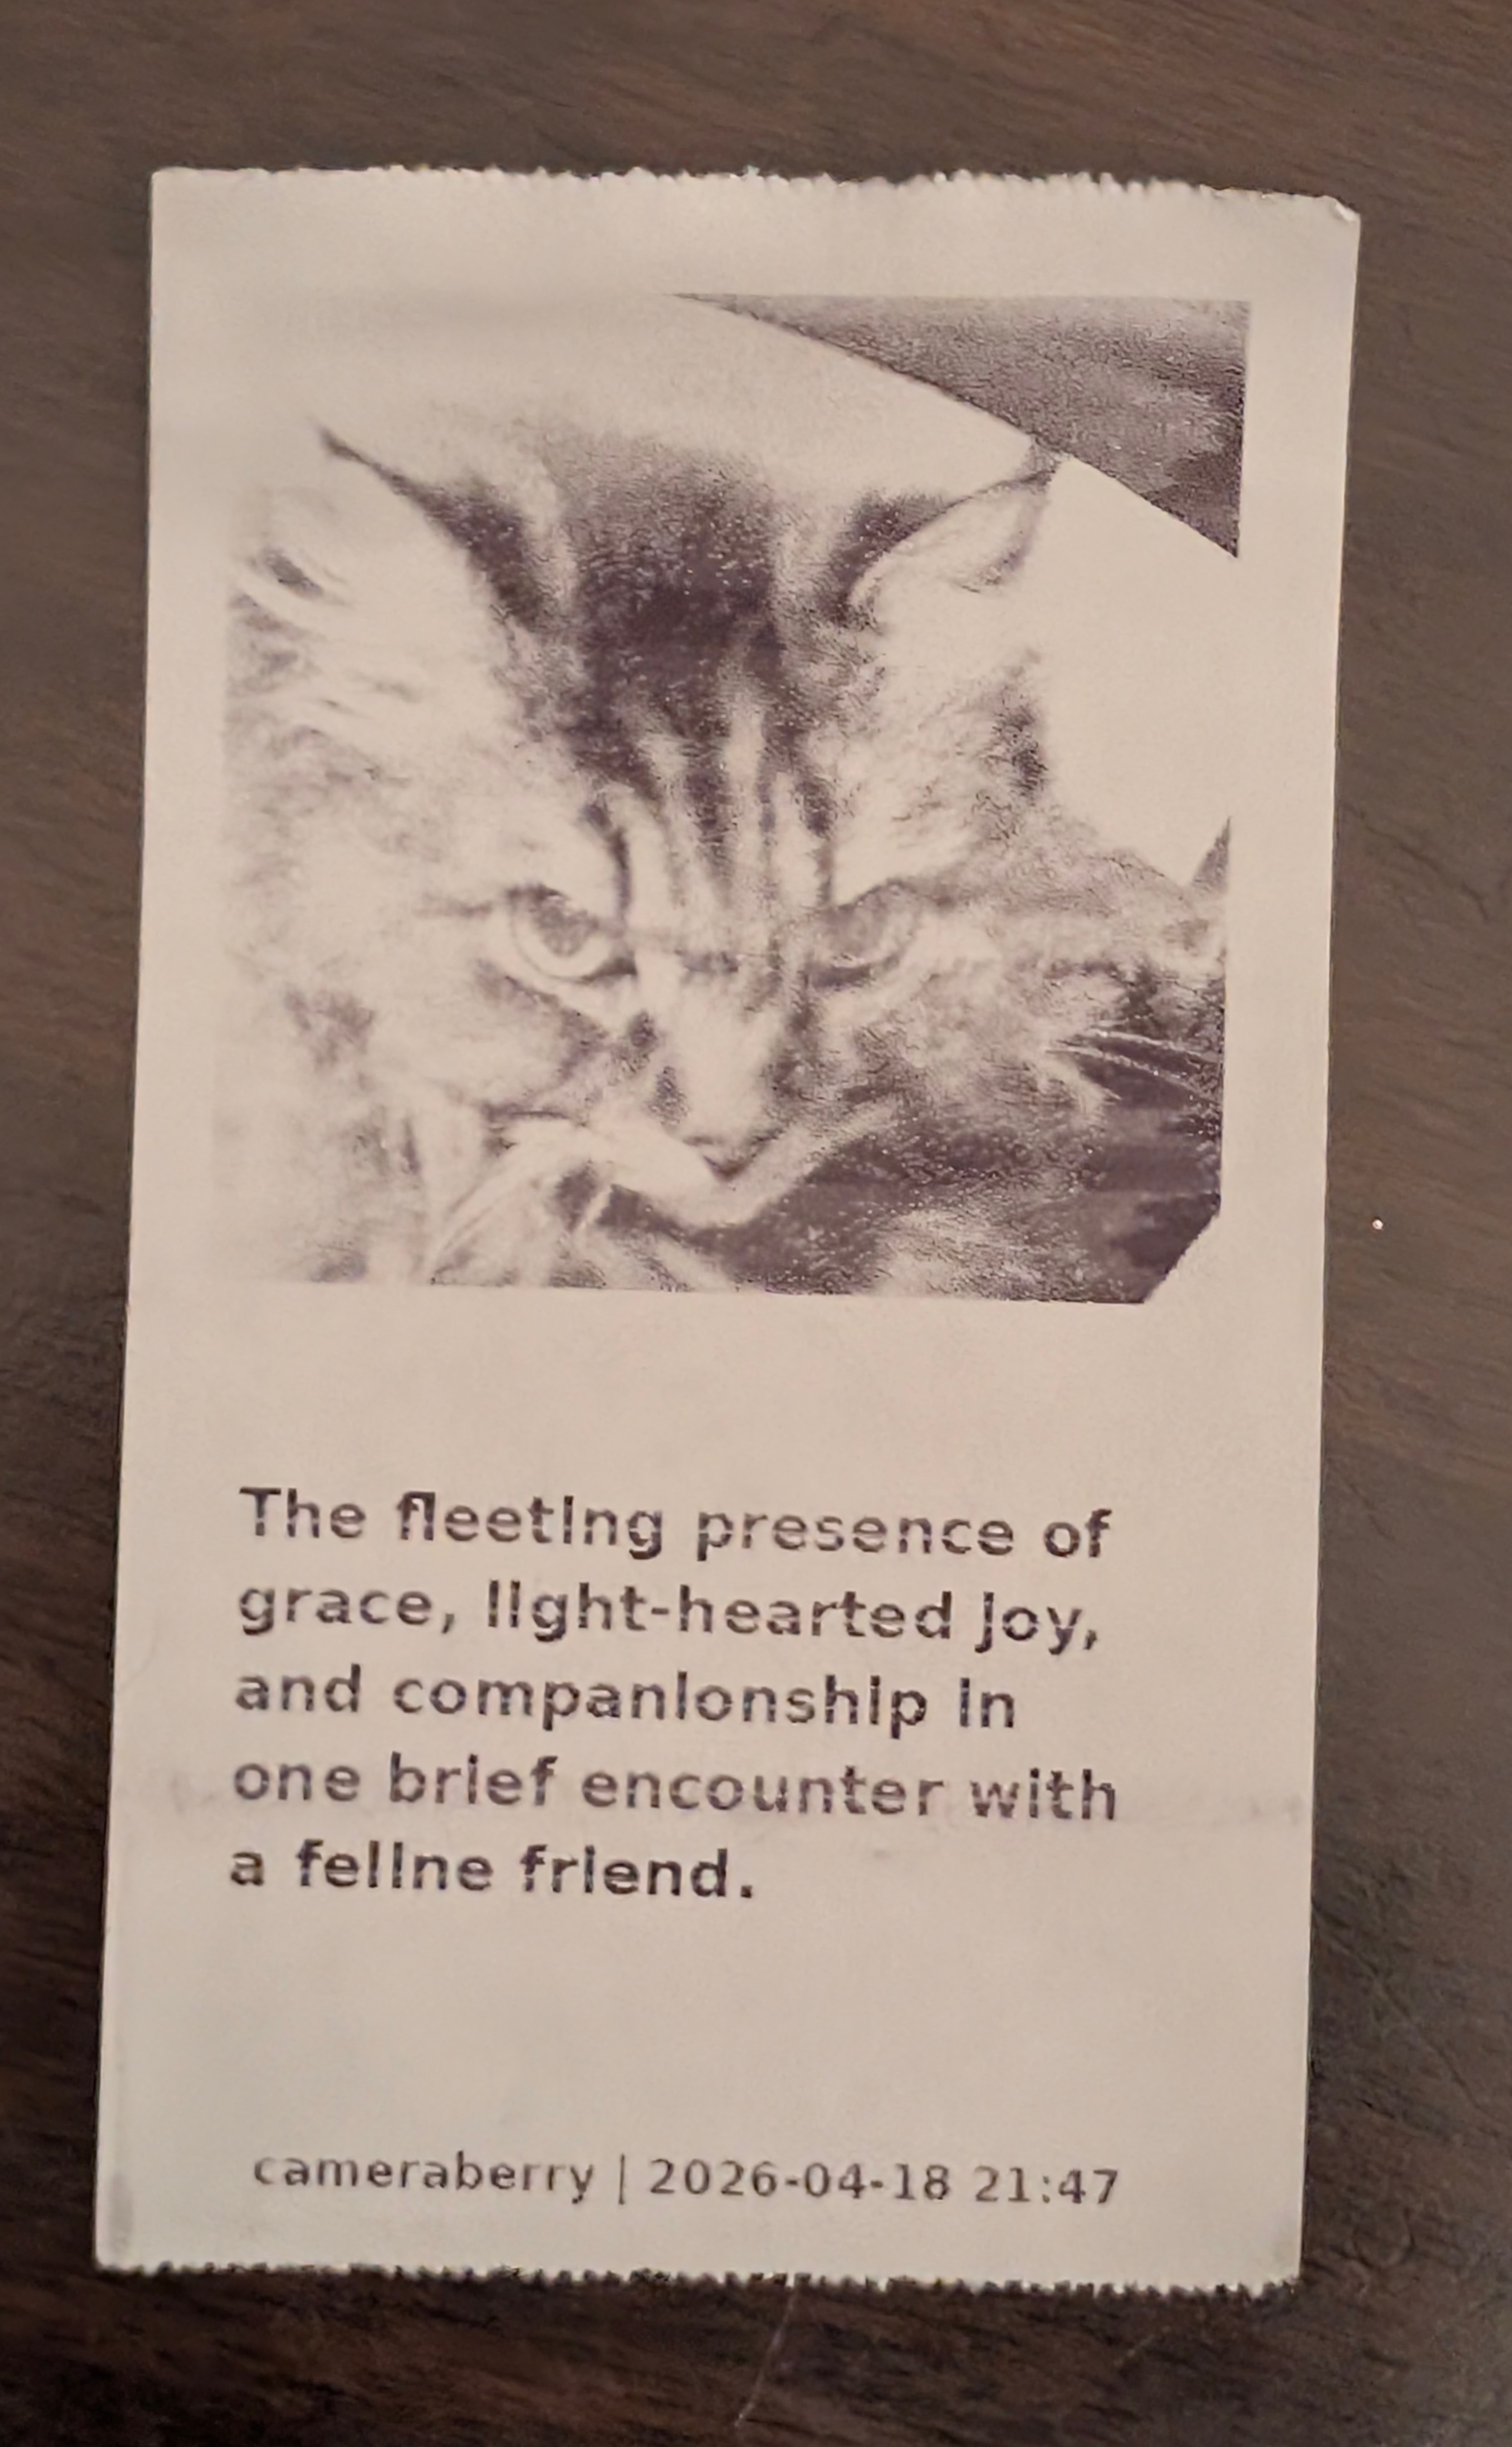
The backend provides two distinct processing modes: a 'fast' mode that delivers abstract, poetic descriptions in just 15 seconds—using YOLO object detection to feed the LLM prompt and bypass full image inference time—and a 'detailed' mode that generates comprehensive analysis by processing the entire image through the LLM within about a minute. These processes run in parallel with the printing phase for near-instant feedback. Through the n8n-powered workflow, the system can also archive the original high-resolution image for further processing or instant mobile notifications. Of course, the camera remains fully functional for traditional offline shooting whenever needed.
A Personal Milestone
This project is a milestone in my personal research into hardware-software integration, demonstrating that sophisticated tools can be built from the ground up with enough curiosity and persistent debugging.
Project Gallery
12 IMAGES / CLICK TO VIEW-
01
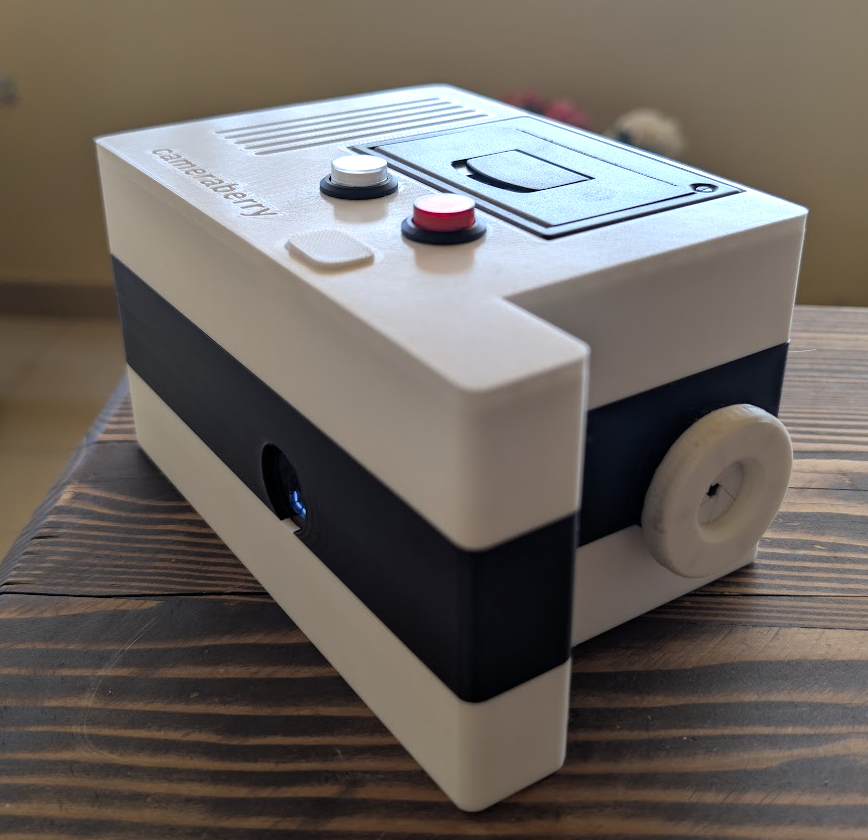
Cameraberry 3 - Front View
The final design of the Cameraberry 3, showcasing its rugged and functional aesthetic.
-
02
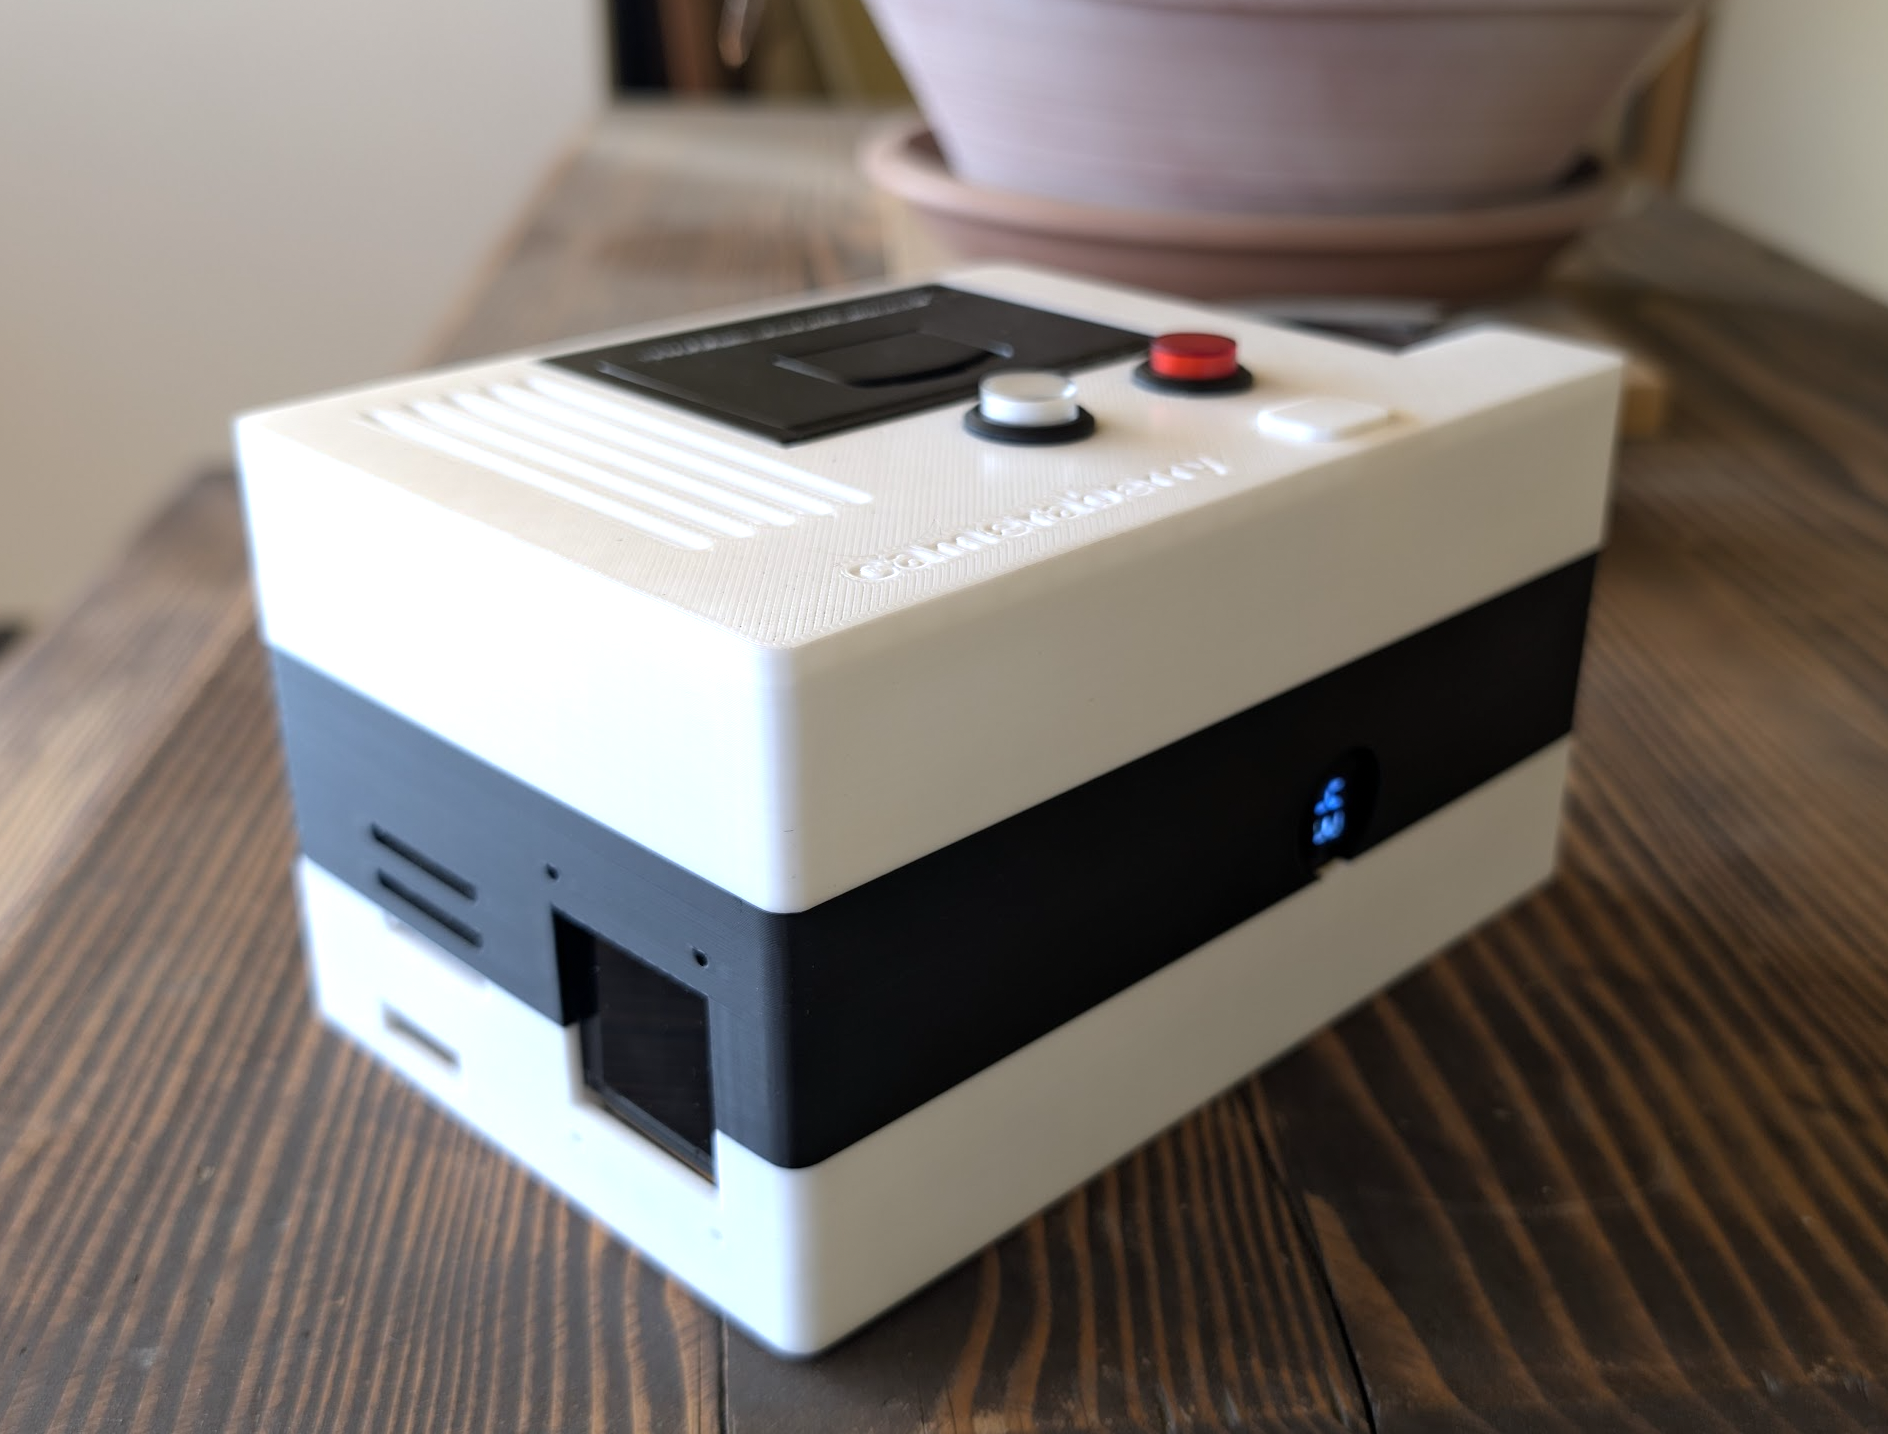
Cameraberry 3 - Rear View
The back of the device, highlighting the integrated display and controls.
-
03
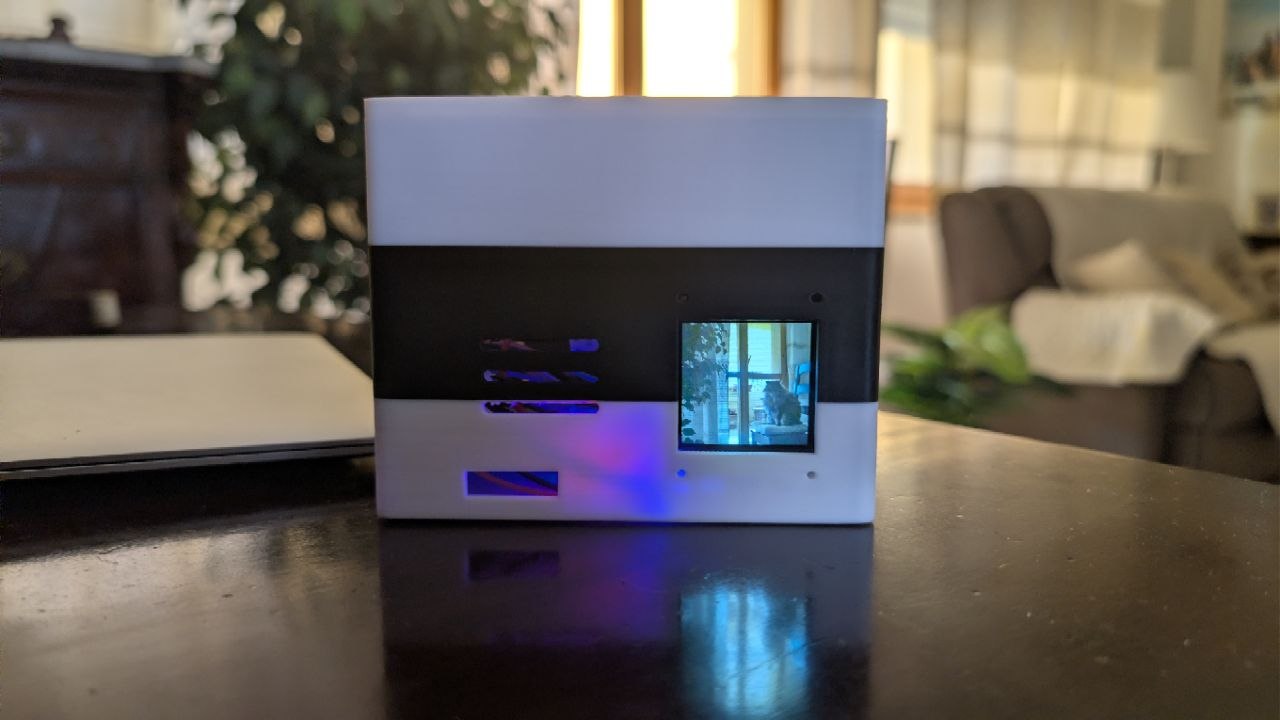
Live Preview Mode
Real-time preview of the image being captured, providing immediate visual feedback.
-
04
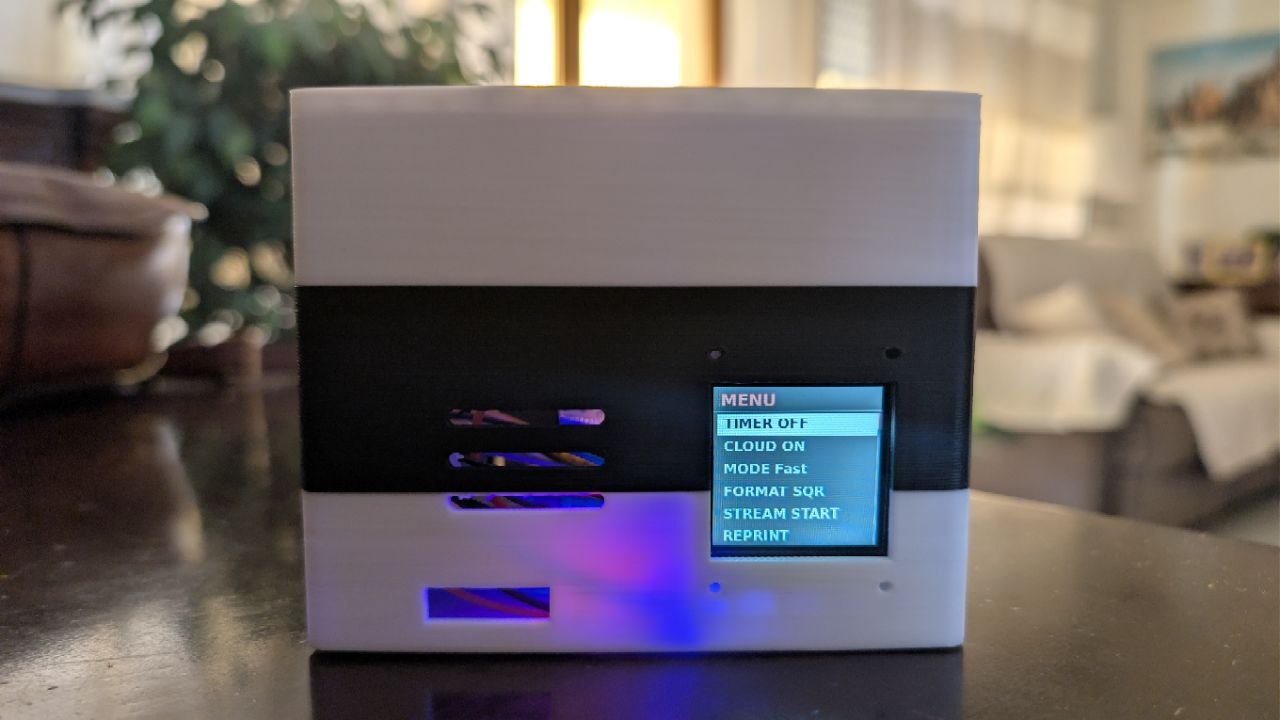
Configuration Interface
The settings menu allows users to cycle through presets and configure system parameters directly on the device.
-
05
Remote Dashboard
The web-based interface for remote camera control, enabling wireless capture and full system management from any browser.
-
06
Intelligent Scan Mode
Scan mode in action, performing real-time object recognition via YOLO. A colleague assists with the demonstration to showcase the tracking capabilities.
-
07
The Final Result
A sample output. The image is processed locally for brightness and color before being sent to the server for AI-powered analysis and descriptive captioning. Meow.
-
08
SCAD Exploded View (front)
The final 3D model generated via OpenSCAD using LLM-assisted, code-based modeling. The power button was custom 3D-printed to leverage a recycled power bank while maintaining a unique design.
-
09
SCAD Exploded View (back)
Rear exploded view. Multiple iterations were required to optimize internal space and thermal management for the Raspberry Pi 3 B+. It features a dedicated aperture for the battery indicator.
-
10
The Origins: Cameraberry 1
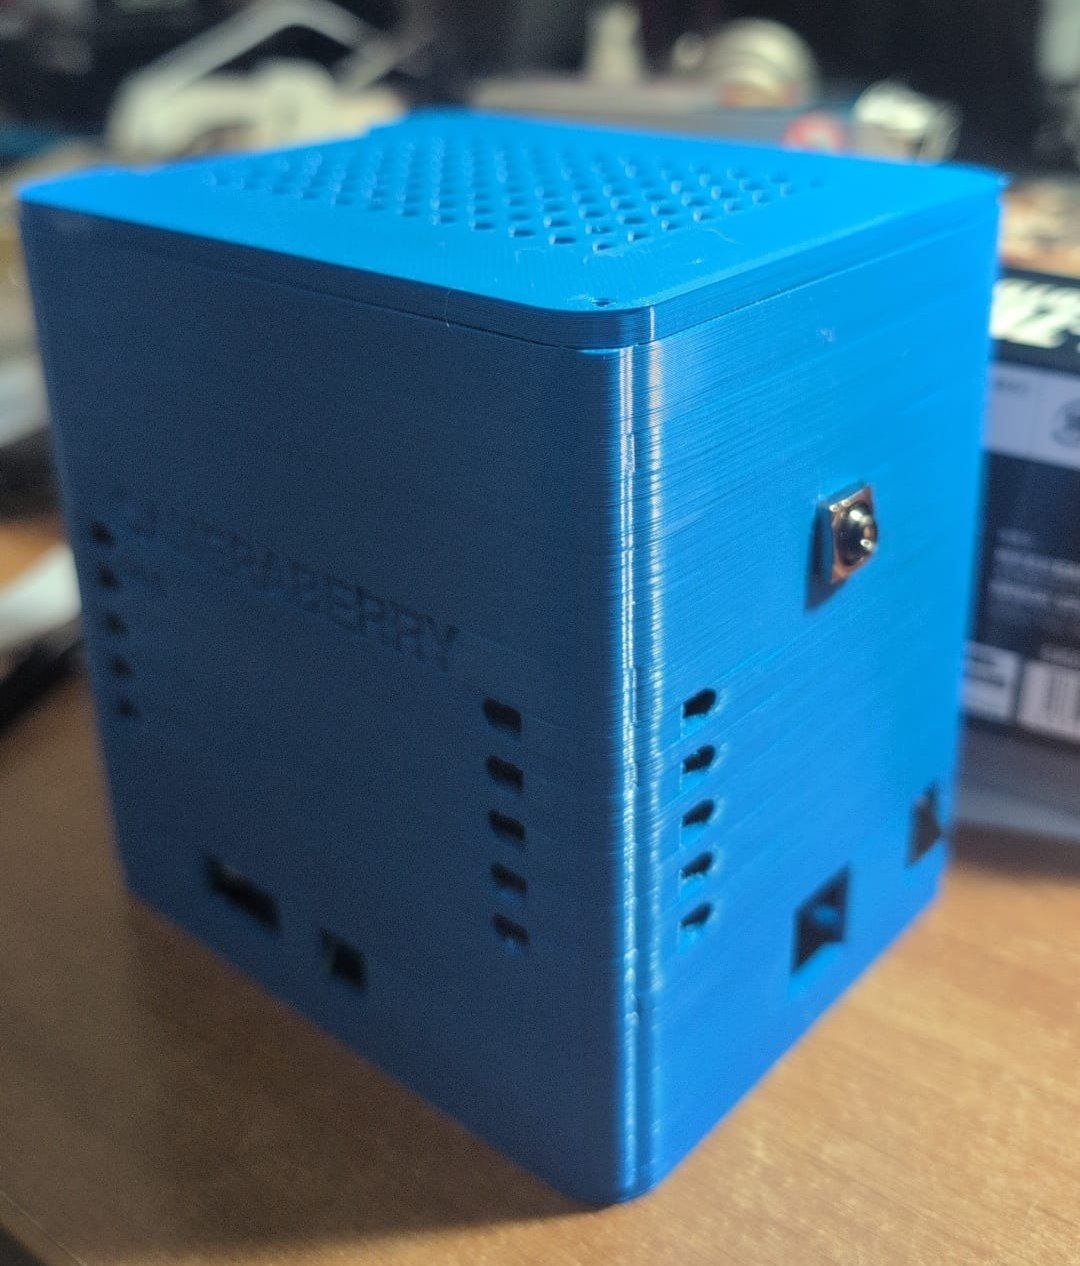
The original prototype. This early version lacked a display and a physical power button, making safe shutdowns impossible without disconnecting the power supply. The initial 'tower' design was eventually abandoned in favor of a more usable form factor.
-
11
Evolution: v1 vs v2
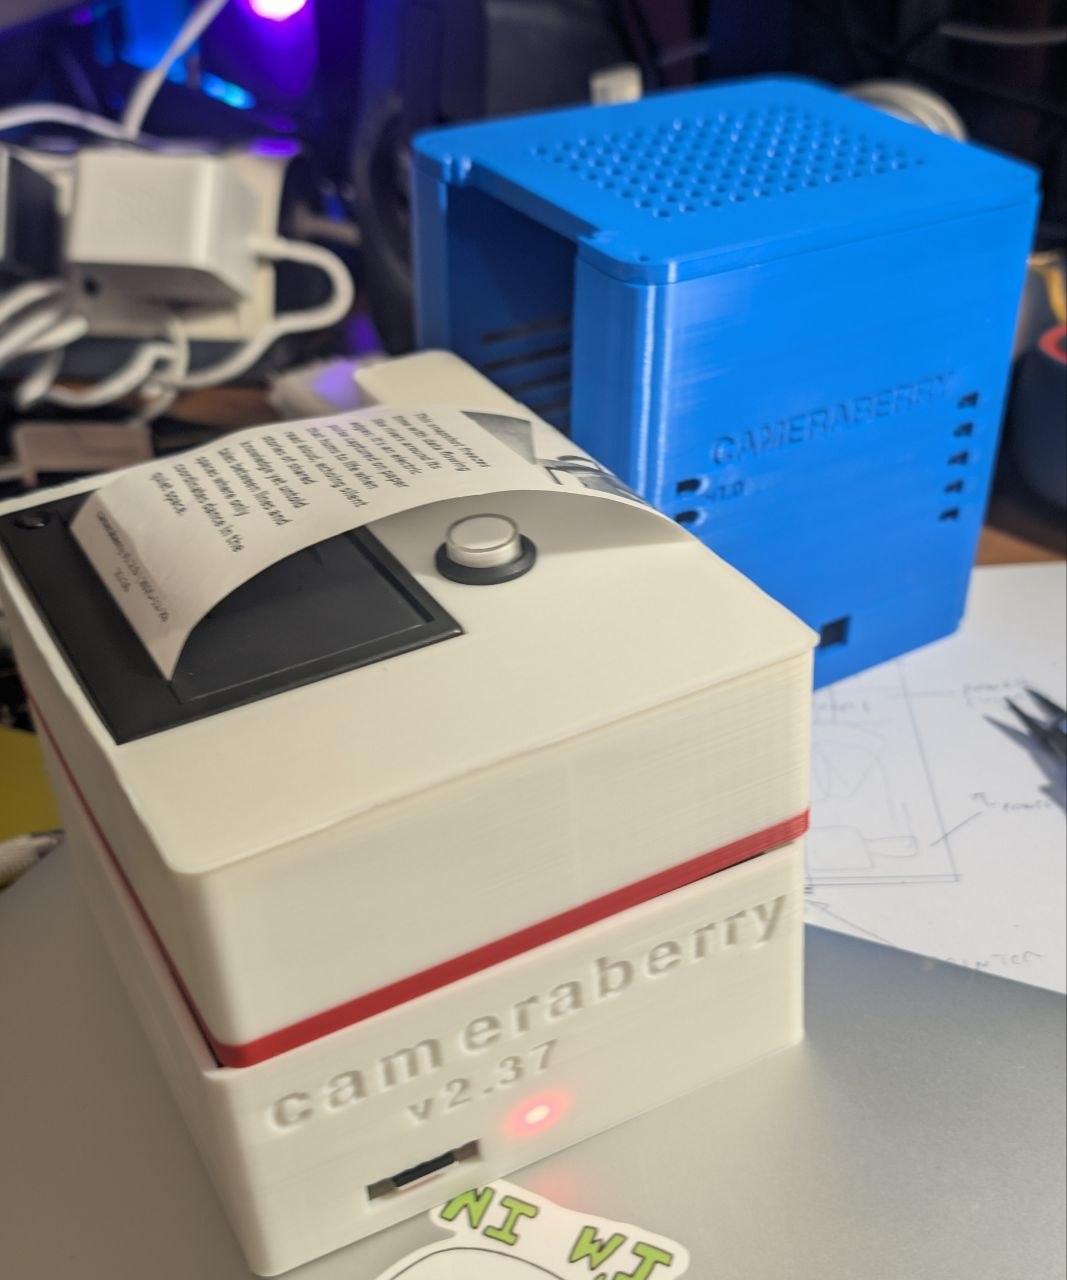
A comparison between the first and second iterations. The second version introduced status LEDs and a more refined design. The signature horizontal white band was a happy accident caused by running out of filament during printing, then intentionally kept for the following models.
-
12
Internal Engineering
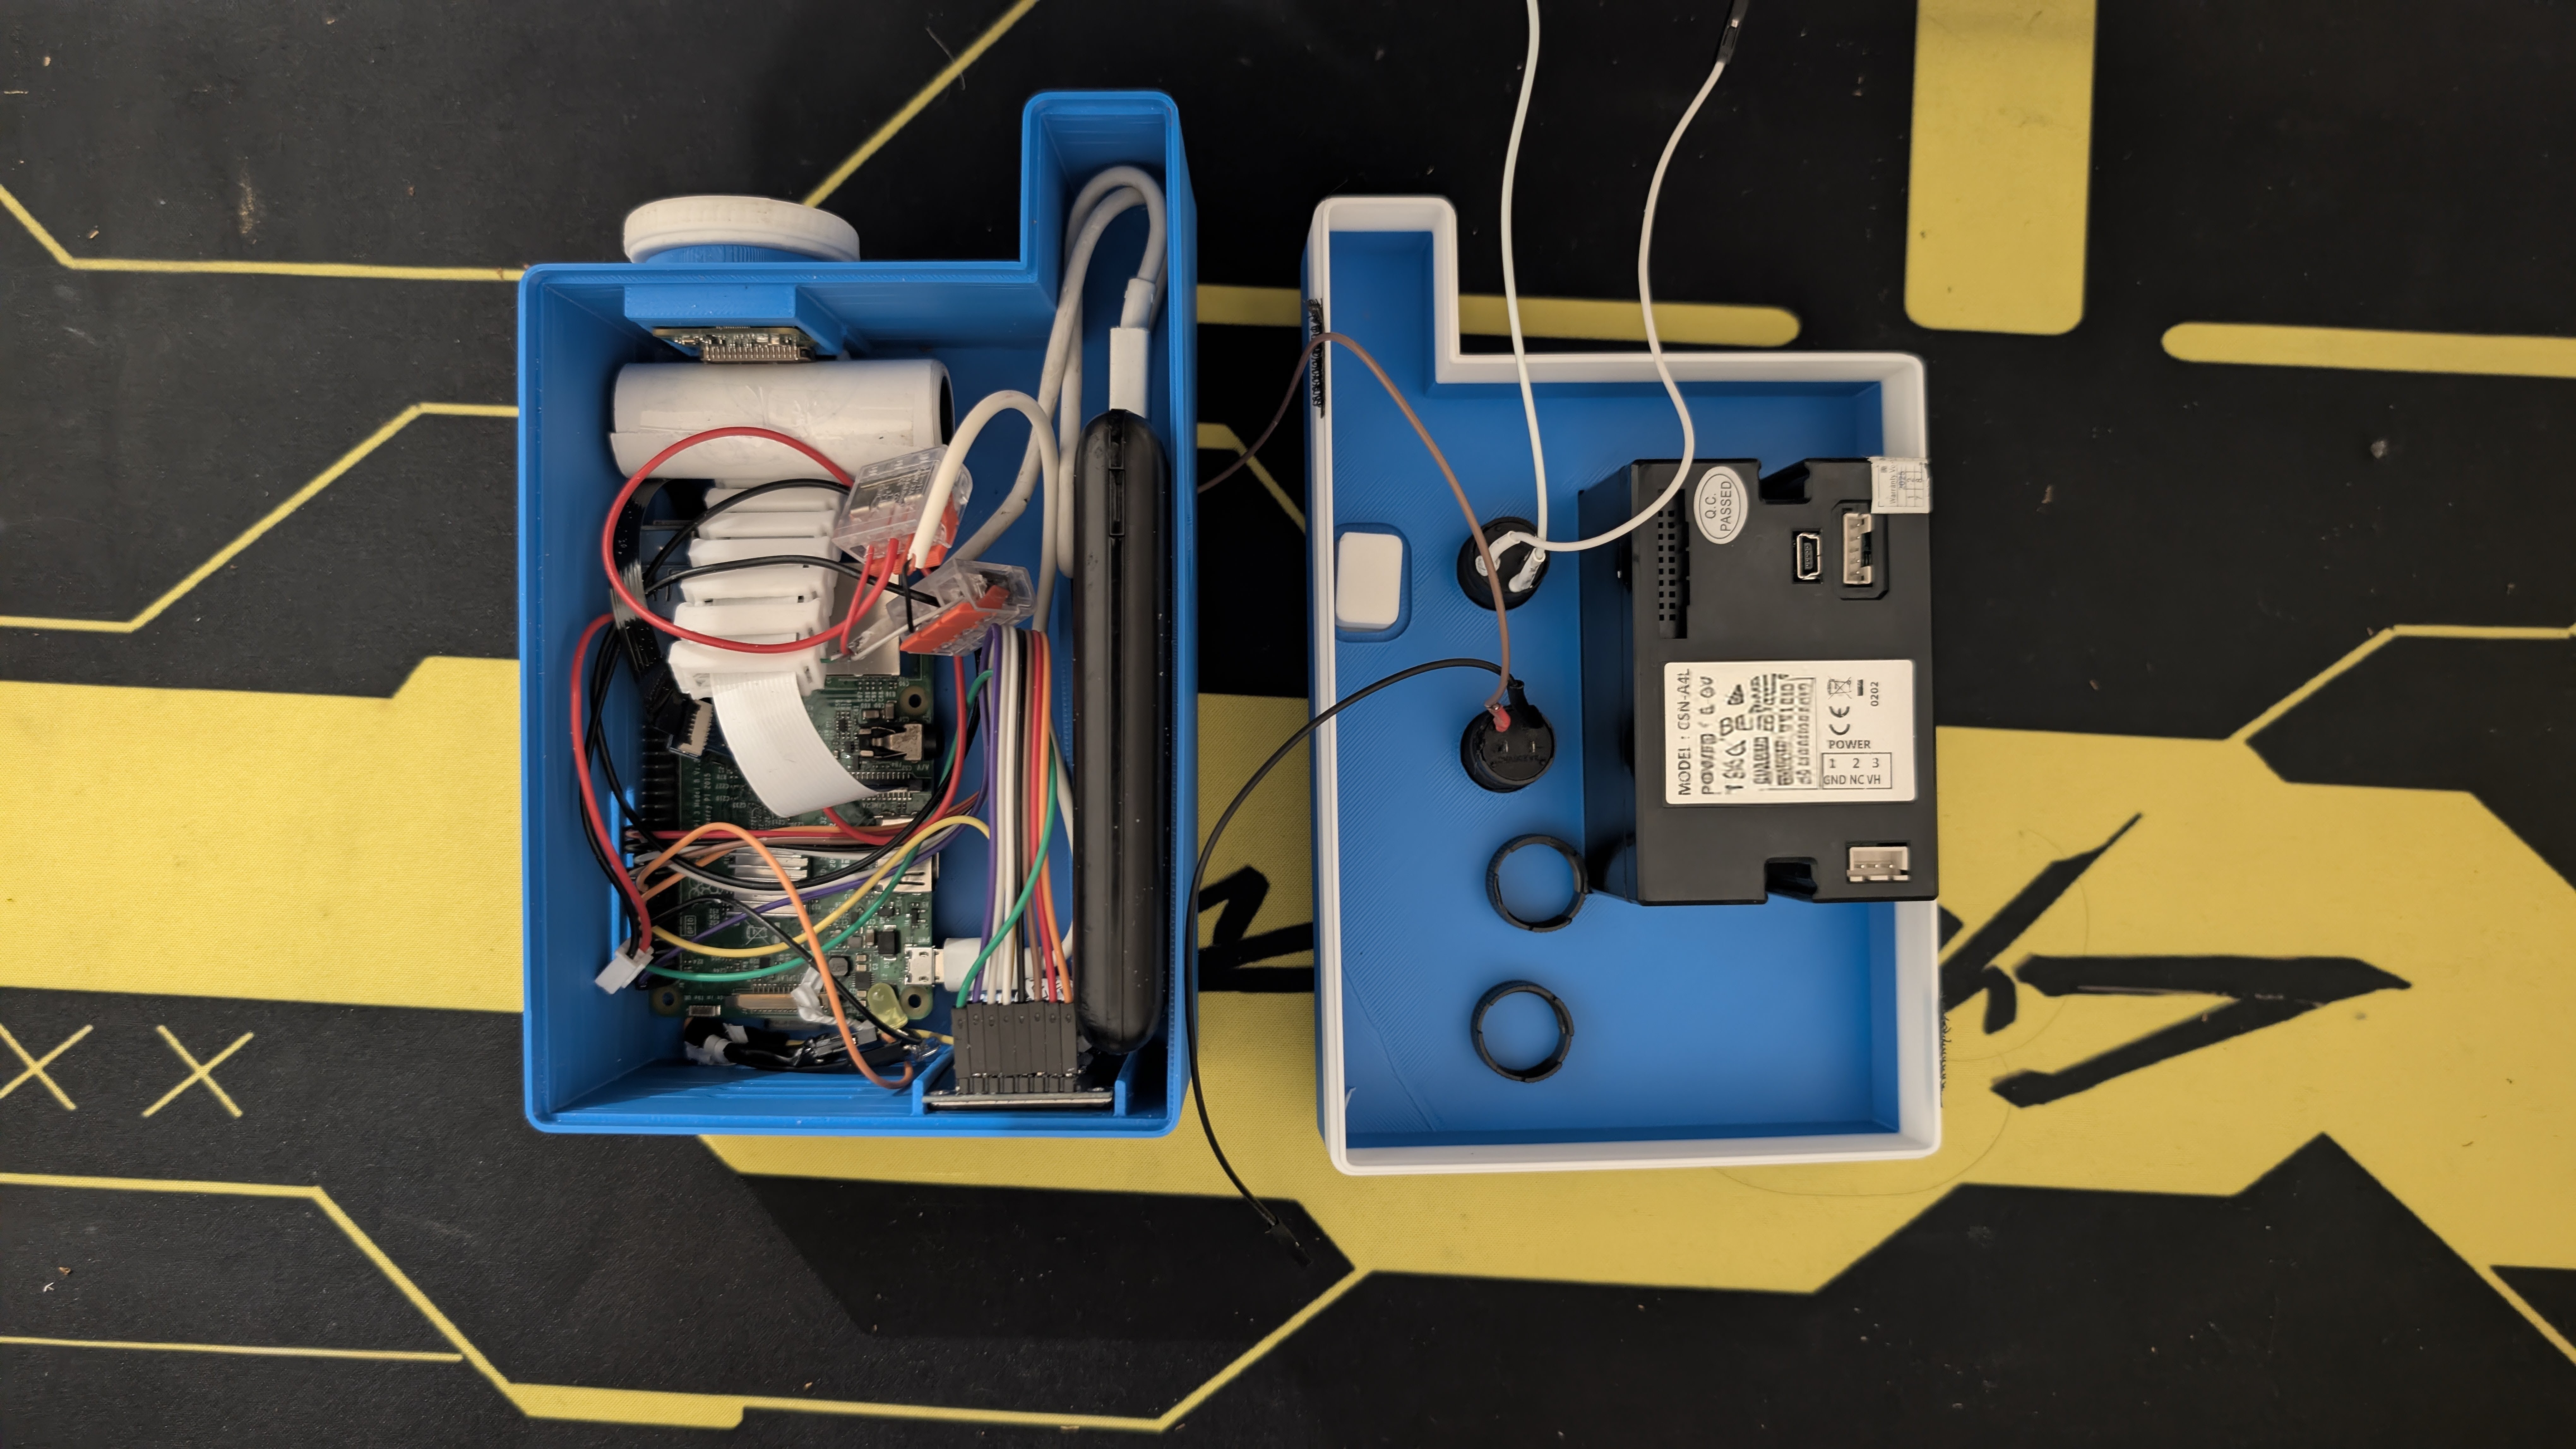
Internal view of the Cameraberry 2. This version laid the groundwork for the current iteration, with optimized component placement and a storage slot for backup thermal paper. The 'spaghetti' cable management system ensures a clean and organized interior. I promise.